Let’s create something better together.

If you prefer phones, we have one of those too: +1 978 455 4515


    • Project Info
      icon
    • Technology
      icon
    • Contact Details
      icon


      BackNext


      Back

      How To Create Ninja Forms In WordPress Websites

      Ninja form is one of the best plugins for forms in the WordPress ecosystem. There are lots of advantages of using Ninja forms, but that’s for a different article.

      In this article, we are going to show you how you can create Ninja Forms.

      We have made the process very easy to create Ninja forms within minutes by using drag and drop functionality. For easy to use for beginners: quickly and easily designed forms with no hard code.

      It’s available to use in built-in hooks, filters & custom field templates to do whatever you want as a developer at any step in the form creation or submission.

      How to Create & Set Up Ninja Form in WordPress Site:

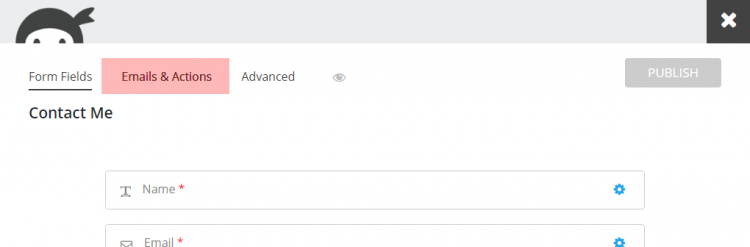
      Once you have installed Ninja Form plugin in your WordPress site, go to the

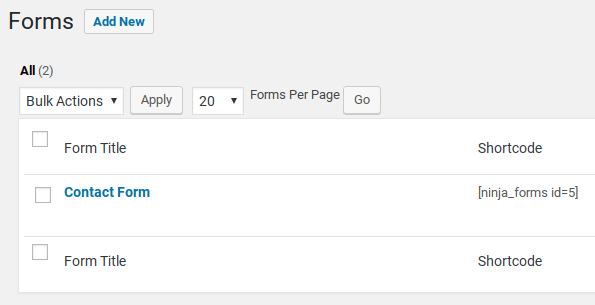
      NinjaForms => Forms => Add New

      wordpress ninja forms dashboard

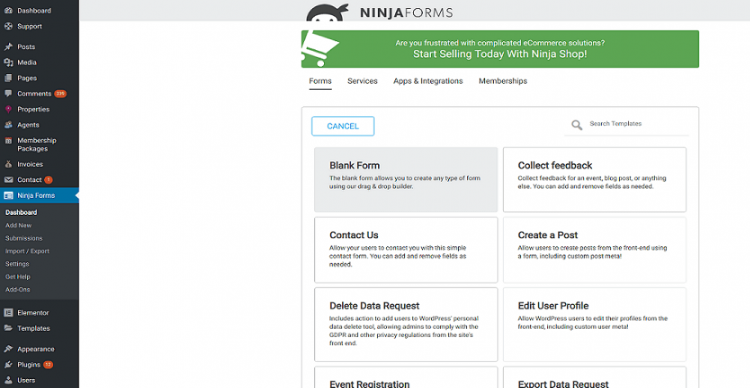
      If you need to create a simple contact form, then you can select simple contact template, & you need to add required fields like name, email address, and message. etc

      wordpress ninja forms dashboard

      Adding Fields:

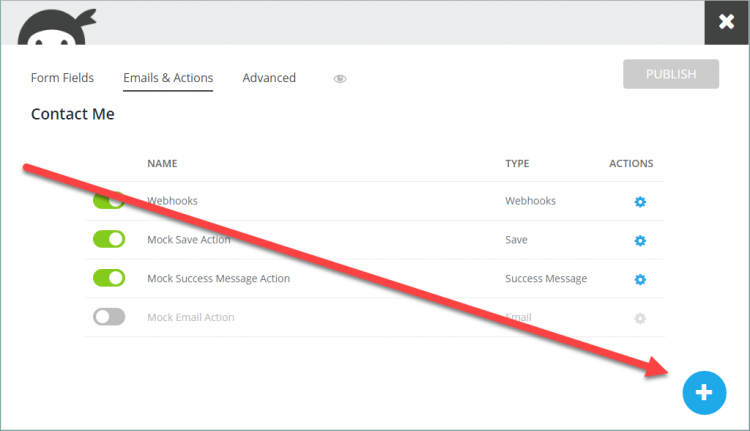
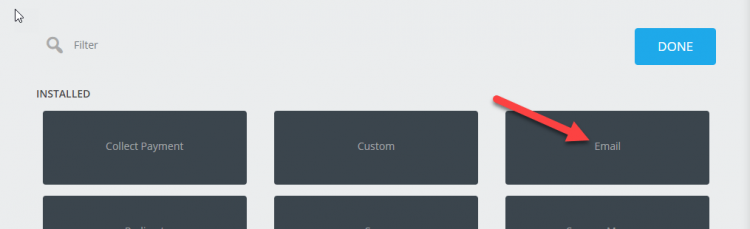
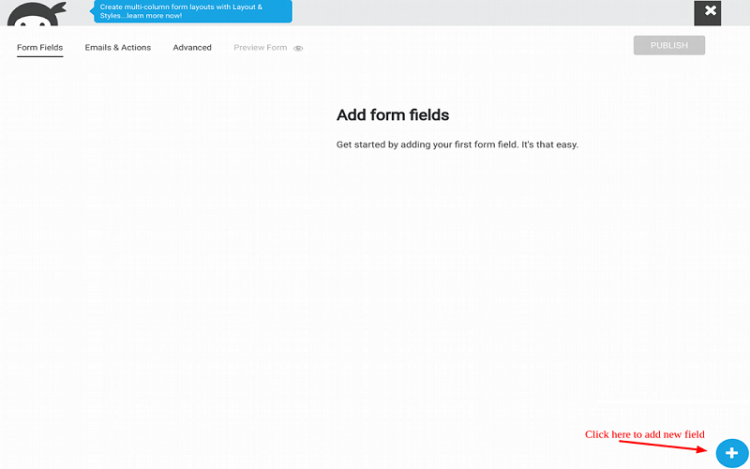
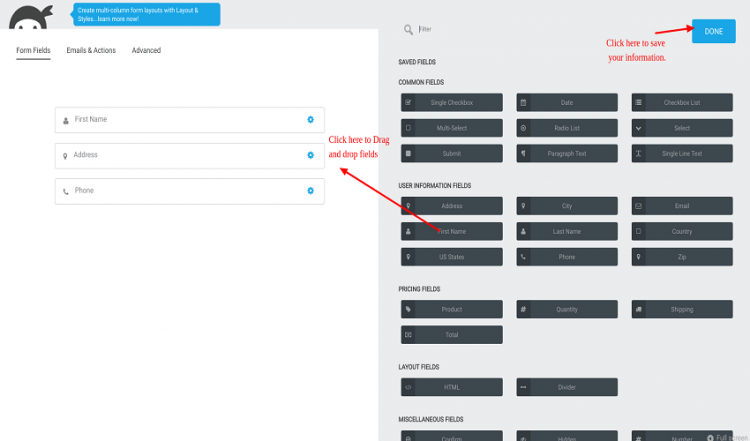
      If you want to add your own fields without using a template, use the blue “+” button in the bottom right corner to open the fields setting box.

      wordpress ninja add form fields

      You can drag & drop fields from sidebar dashboard into the builder. Once you added all the fields, click “Done”.

      wordpress ninja contact form add field

      Editing Fields:

      To replace the field label, click to open the sidebar dashboard, then click the blue gear icon to open the field settings box. Remember, this setting box is different for every field.

      Types of Fields are given below:
      A) Textbox
      B) Textarea
      C) Number Field
      D) Hidden Field
      E) Select List
      F) Multi-Select List
      G) Radio List
      H) Checkbox
      I) Submit Field

      For example: Please check below information related to field setup

      A) Textbox

      Text box field you can use on first name, last name, city, email, zip, phone etc.

      wordpress ninja textarea

      How to change the label?

      You can set field to be referred to as

      As per the above screenshot, you can select the option for Label position.

      How to set the required field?

      If you want to set the required fields enable, then you have to enable the field from setting. This will let the user know to fill the required field before submitting the form.

      Placeholder for our field:
      The default text which you want to display in the field before any data filled in the field.

      Default Value for our field:
      If you set a default value in the field to display, that will remain as the user types.

      Field Key for our field:
      It’s a programmatic name that is generally used for reference.

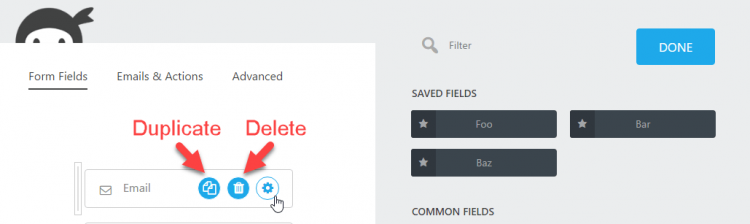
      How to do Duplicate or Delete Fields?
      As per the below screenshot, you can duplicate or delete any fields displayed in blue icon.

      wordpress ninja form fields duplicate and delete

      How to Preview the Form?

      In Ninja Form, you can directly check the form preview by clicking preview button “eye icon” without effecting front end of our website.

      wordpress ninja form fields

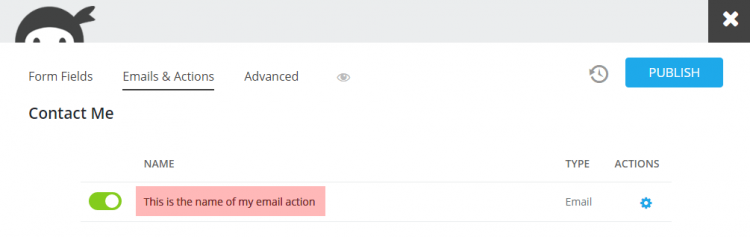
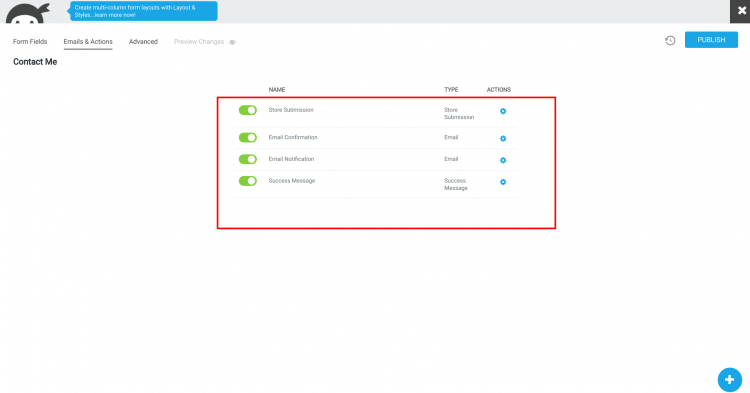
      How to Publish the Form?

      To make your form changes to live, you have to click the “Publish” button.

      wordpress ninja form fields

      If you want to open your email and action settings, you can click on Emails & Actions Tab.

      wordpress ninja contact form

      To Create a new action. Click the blue “+” button, as per the below screenshot.

      wordpress ninja add email and actions

      If you want to send email for a new action than click on Email.

      wordpress ninja install email

      As per the below screenshot, you can set name which will appear in your actions list.

      wordpress ninja email and actions

      wordpress ninja email enabled

      To: Set an email address for the action “To” to send the users.
      You can set for the admin emails and the user’s email.

      wordpress ninja email and actions
      ii) Email message: Set the email message to display on your mail body information.

      wordpress ninja email fields

      iii) Html Formatting for the Email message: Click on “<>” icon to change the rich text editor into an HTML editor.

      wordpress ninja email message source code
      iv) Process: Publish Form.

      Complete publish form, then you will need shortcode. navigate to forms >> all Forms, here you can see display your all forms which you created.

      Copy the shortcode and paste which you want to display for your post and page.

      wordpress ninja contact form

      This article is focused for beginners or business users to setup Ninja Forms.

      If you are facing any challenge or problem while creating Ninja forms or you want to build advanced Ninja forms, you can leave your comment in the comment section or contact one of our team members. We’ve experience using Ninja forms for simple forms to customizing and integrating with CRM. cmsMinds, an RTP based Web development agency specializes in WordPress, Drupal and PHP solutions.

      Author's Bio

      Bharat Gohel
      Bharat Gohel

      With a rich background that spans over four years in managing WordPress projects alongside a steadfast dedication to QA, Bharat brings a unique blend of precision and innovation to the table. Through his writings on WordPress Development, Project Management, QA Testing, and Accessibility, Bharat shares his comprehensive insights, aiming to elevate the standards of web solutions. His articles are a reflection of his commitment to quality, client satisfaction, and the pursuit of accessible digital spaces for all.

      Share This Article:

      Recent Blog
      VIEW ALL BLOGS