Here we are going to explain how to setup Twilio with the use of communication REST API, PHP Twilio Helper library, and expose to local development server to Twilio. For this, we need to use package manager composer to manage the product dependencies here.
Steps for Setting up Twilio: (Follow step by step in order to send messages via Twilio)
1. Need to get a free Twilio account for testing and implementing this feature. For that follow below mentioned guide for account creation:
1.1. Go to https://www.twilio.com/try-twilio for sign up & need to verify your mobile number. (This is a security measure from Twilio to restrict its free account access for the genuine users only). You will get small preloaded balance to test with this trial account.
1.2. Once signup is done, you will see “console dashboard”. This is where you will get your Twilio credentials, your usage details, procuring phone number and many more details.
1.3. While you will be in trial mode you need to verify each number where you need to send the messages (again a security measure to check that you are sending messages to yourself only)
1.4. If you want to send message on other non-Twilio number, then you need to follow below instructions.
1.4.1. Go to caller IDs page in the console:
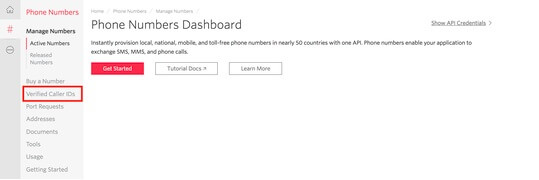
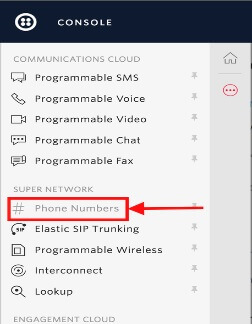
1.4.2. Click on Phone numbers:
1.4.3. Click on red plus (+) icon in order to add new number:
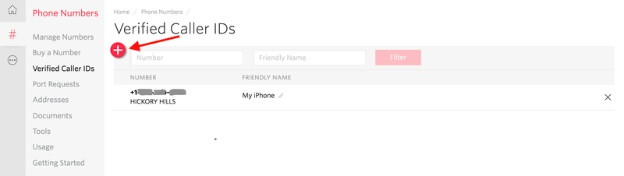
1.4.4. Add new number you want to add into Twilio account to send messages:
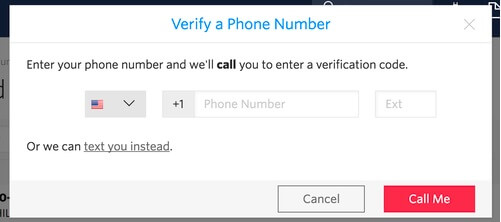
1.4.5. You will receive a message to verify that number, on this screen you need to enter the verification code to verify the number:
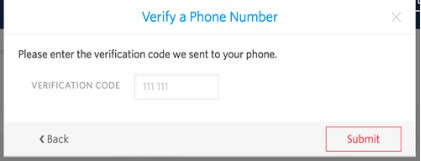
1.4.6. Once you will submit the verification code, your number will be added to the account for receiver test messages.
1.5. Now you need to get your first Twilio Number. For that follow below process for that:
1.5.1. There are two options, you can search for a specific number or you can use default created number by Twilio. We are going to use default number creation for our tutorial.
1.5.2. Go to Phone numbers page, Click on “Get your first Twilio Number”
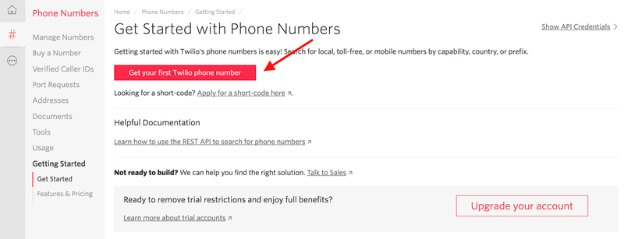
1.5.3. When you click on this you will see default provided number by Twilio.
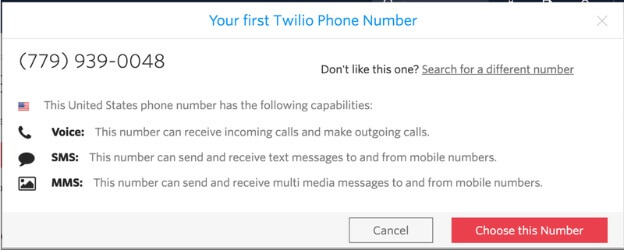
1.5.4. Select Choose this number and the number will be assigned to you.
Please note when you select to upgrade your account, this number will be carried over for paid version as well and charges will be applicable depending on Twilio current Voice/SMS rate.
1.6. Now you need to release the Twilio number in order to use that. For that go to the manage numbers page and select the number you want to release.
1.7. Click on release this number link at the bottom:
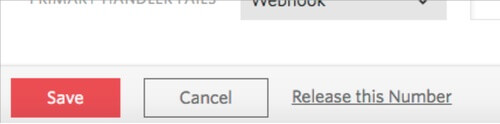
1.8. Once clicked, number will be released. Now you are ready with a testing account and number that you can use for sending SMS.
2. How to start Twilio Messaging:
2.1. You need composer in order to achieve this functionality, so first check if composer is installed in your machine or not. If you are new with composer, you can learn about it from our blog here.
2.2. So, considering that you are all set with composer. Now you need to create a folder in your local server (lamp, wamp, xxamp etc).
2.3. Now go into that specific folder using the terminal.
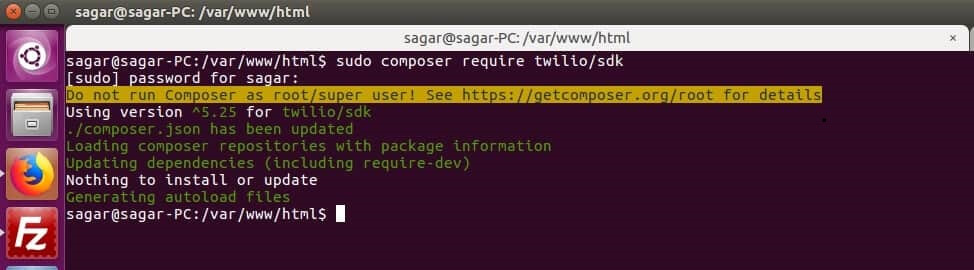
2.4. Install Twilio SDK. You can do that using below command:
composer require twilio/sdk
2.5. This helps you to install the SDK, now go into the project folder and create a new file that we are going to use for our message sending code. You can give it any name you want e.g. Twilio.php
2.6. Put below code into the file:
[code]require __DIR__ . ‘/vendor/autoload.php’;
use Twilio\Rest\Client;
// Your Account SID and Auth Token from twilio.com/console.
$account_sid = ‘ACXXXXXXXXXXXXXXXXXXXXXXXXXXXX’;
$auth_token = ‘your_auth_token’;
// A Twilio number you own with SMS capabilities
$twilio_number = “+1*******661”;
$client = new Client($account_sid, $auth_token);
$client->messages->create(
// Where to send a text message (your cell phone?)
‘+1*******310’,
array(
‘from’ => $twilio_number,
‘body’ => ‘I sent this message in under 10 minutes!’
)
);[code]